
One of my very good friends is having babies!! Yes, not 1 baby or 2 babies, but 3 babies! I'm so super excited for her and her hubby :) They are going to be amazing parents! Being who I am (ridiculous at times)....I decided that I wanted to make their baby gift. Did I go for stuffed animals or receiving blankets or burp clothes??? Oh, no! I'm going all out and making them all quilts! haha! So, my goal for the next few months is to get them done! She is due in July, think I will have time? Sure hope so! This is going to be a several step process and I am by no means a wonderful quilter. Honestly, I have only ever made one real quilt in my life...I have a feeling there is going to be a lot of Googling to remember how to do certain steps.
Well here we go!!
First I got all of my supplies together...


5" Charm pack that I picked up at a fabric store
Next, I laid out my 5" pieces in an alternating pattern. This can be tricky!!! It's quite the puzzle :) After I had the pieces like I wanted them I pinned them to a large scrap of fabric.


My make shift quilting board! HAHA! I used safety pins to hold it onto my curtains :D
Then I started sewing my 5" squares together placing squares 1 & 2 right side together and making a 1/4 inch seam. The key to a perfect 1/4 inch seam is keeping the edge of the fabric lined up with the foot of your sewing machine.

Next I opened squares 1 & 2.

Front

Back
With the squares open right side up, I took square 3 and placed it right side down on square 2. Then I sewed my 1/4 inch seam. I continued this process for all 5 squares.

After each row was completed I ironed the seams. Each row I alternated on the direction that the seams went. So, row 1 all of the seams went to the left then row 2 all of the seams went to the right.


After sewing all of the rows it's time to sew the rows together. I placed rows 1 & 2 right side together and sewed a 1/4 seam.


This is what the seams look like when they are put together. See why I ironed the seams in the rows in opposite directions? It makes a smoother seam when you sew the rows together. Sorry if it sounds like I'm talking in circles ;)


All pieced together!!!
Time to add my borders...I didn't take pictures of this :-/ Sorry!


I cut 8" strips for the borders and sewed a simple plain border with square corners.
After sewing the border on I made a quilt sandwich :)
First I spread out the back fabric right side down. Next is the batting...I like for the back and the batting to be about an inch or so bigger than the quilt top. After laying the batting out I laid out the quilt top right side up.


Now it's time to pin it all together.


The next part that I did is not conventional Quilting...I wanted to add Red ribbon tho the piece and I wanted the seam to be visible on the back. So, I have decided to tie (with thin red ribbon) the center of the quilt and machine quilt the borders. Hopefully it will turn out okay.

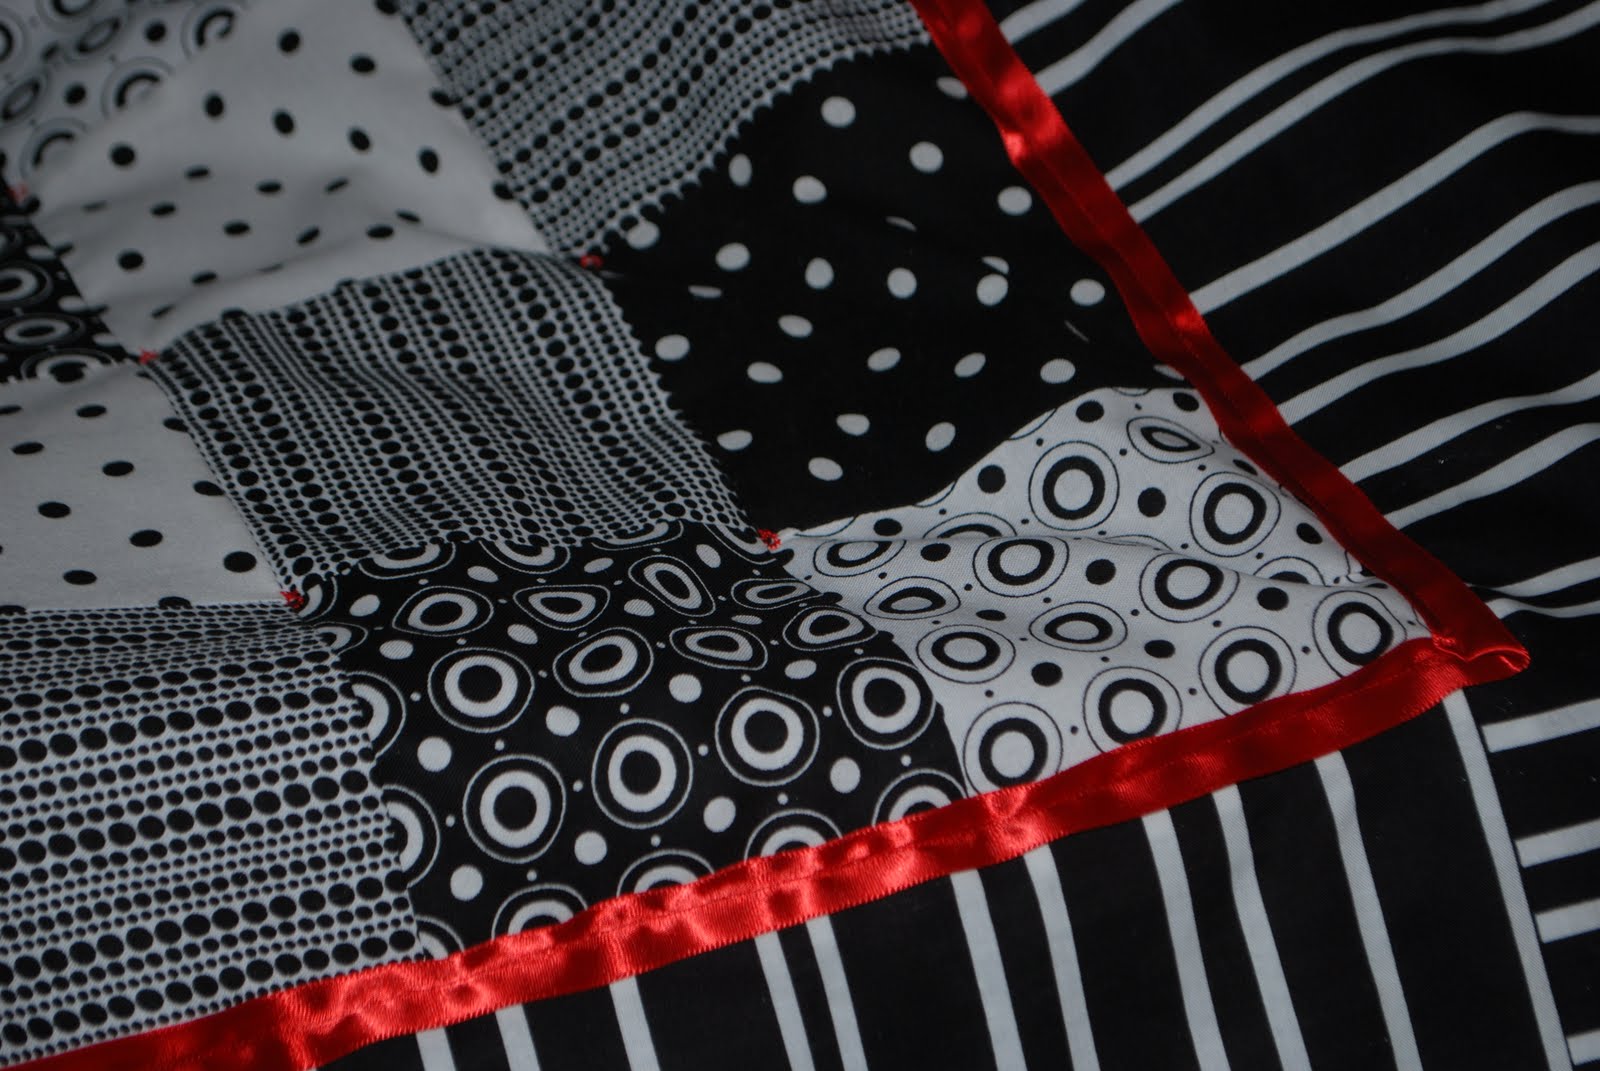

This is the back so far :)
And we are also at the point where I have had to stop....I hope to get back to work on it later this week!!
No comments:
Post a Comment